building an e-bike
Mar 7, 2021about a year ago, i moved to a hillier neighborhood in San Francisco. my beat-up vintage road bike, a beloved and steadfast companion on thousands of commutes across SoMA, suddenly became way less practical and more importantly, way less fun. as months of quarantine dragged on, i started either taking Lyft rental e-bikes out of sheer laziness or just staying in flat regions (a technique i call elevation evasion). eventually i became so disappointed in my self-imposed lack of transportation autonomy that i decided to take action.
become a more competent cyclist? no.
put an motor on my bicycle?? YES.
why?
i first looked into buying an entire e-bike online in case this was somehow cheaper than doing an e-bike conversion. unfortunately most recommended affordable e-bikes were beyond my 3-figure budget, not to mention sold out due to their increased popularity during shelter-in-place.
e-bike conversion kits, on the other hand, cost as little as $240. this seemed like a steal until i realized that they didn’t come with a battery. e-bike batteries often cost more than the rest of the conversion kit combined, putting the true cost of a conversion at closer to $500.
around this time, i saw a well-targeted search ad for Swytch, “the world’s smallest and lightest eBike kit” according to their IndieGoGo. drawn in by their startuppy marketing materials and seemingly-perpetual 50% discount, i joined the waitlist for their next batch of kits. by the time pre-orders opened, i was convinced it was worth $499.
after months of waiting, not to mention $50 in shipping and $27 in import duties, my Swytch kit finally arrived in the mail a few weeks ago, far closer to the expected date than i had any right to expect from a crowdfunded project.
if at first you don’t succeed, move the goalposts
with great anticipation i unboxed the kit, consisting of a motorized replacement front wheel, a battery pack with charger, a handlebar mount for the battery, a pedal assist sensor, and an intimidating number of zipties. after skimming the manual (well-organized with lots of color pictures) and transferring my old tube and tire onto the new wheel, i started the first step of installing the Swytch wheel.
i ran into trouble immediately, since the axle turned out to be too wide for my fork.
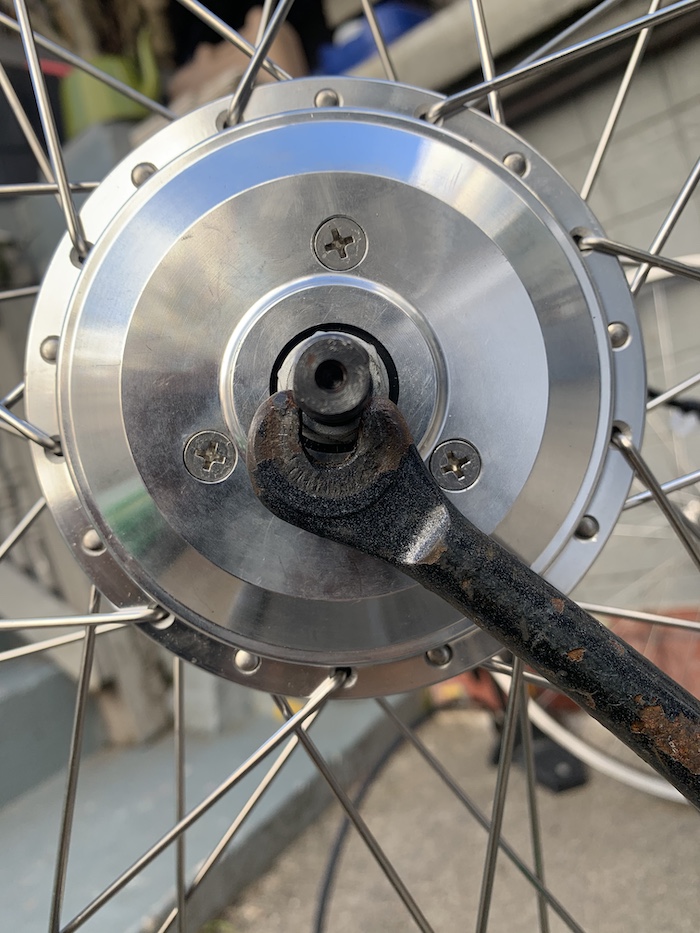
Swytch support got back to me within hours and recommended filing off a bit of the axle using a metal file. as i was waiting for the file to arrive from Amazon, i started to worry that the weight of the Swytch wheel and battery would put too much strain on my weakened bike frame (the result of a bike theft attempt that left a bad dent in the down tube). on top of that, my bike was in need of new brake pads and a new chain.
i decided that given all these problems, i should just build a new bike starting from the salvageable parts of my existing bike. i have never built a bike from parts before and was excited to learn. however, after doing my Craigslist homework, i couldn’t find a complete set of decent bike parts that cost less than $200, so i gave up and bought a $220 single-speed.
putting it all together
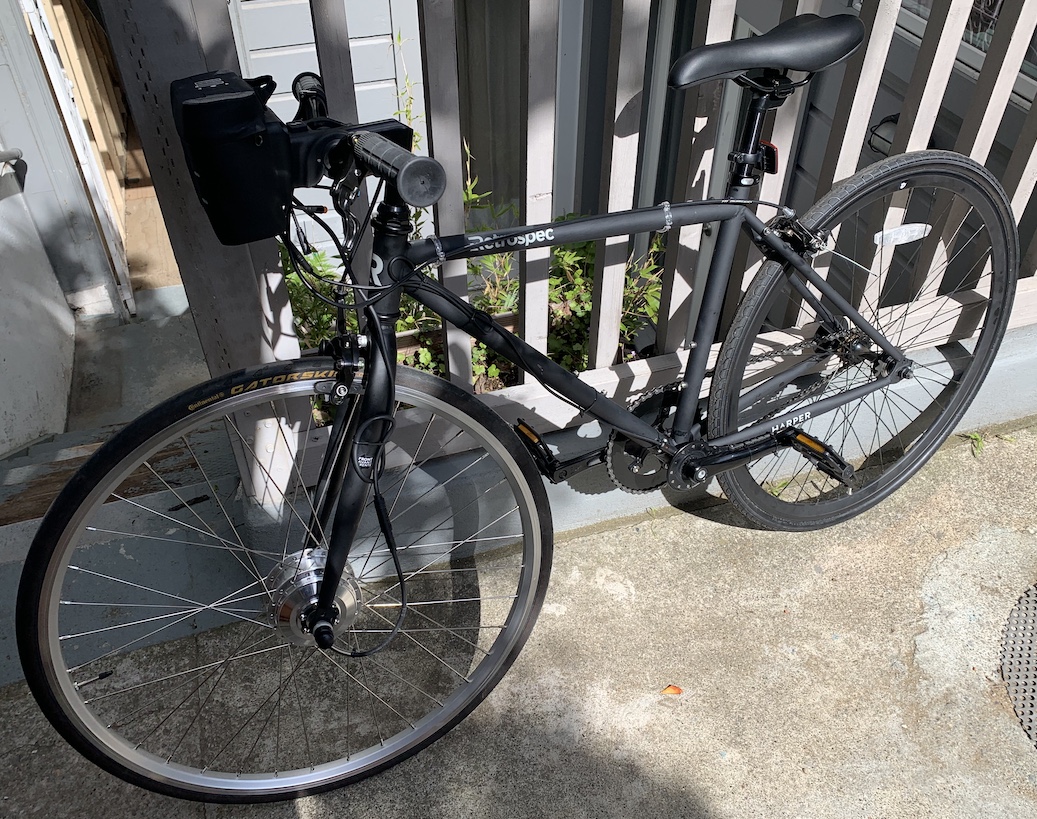
my brand-new Retrospec Harper arrived a few days later mostly assembled. i just had to attach the handlebars and seat, screw in the pedals, and adjust the brakes. and then to convert it into an e-bike:
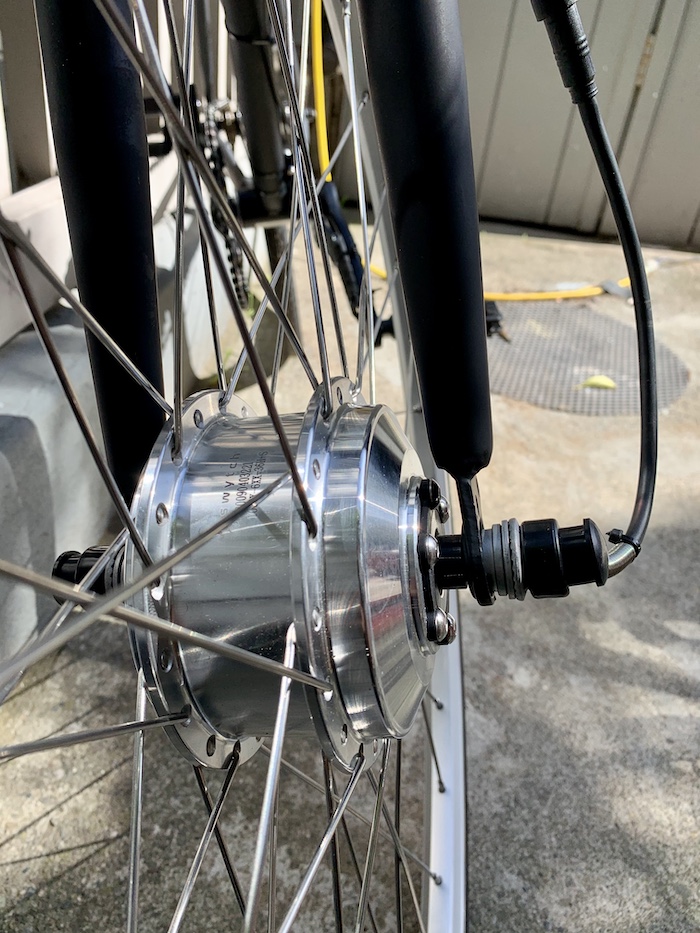
- instead of the included front wheel, pop the Swytch wheel into the front fork and tighten both sides. it should fit perfectly, but you will need to adjust the height and angle of the brake pads.
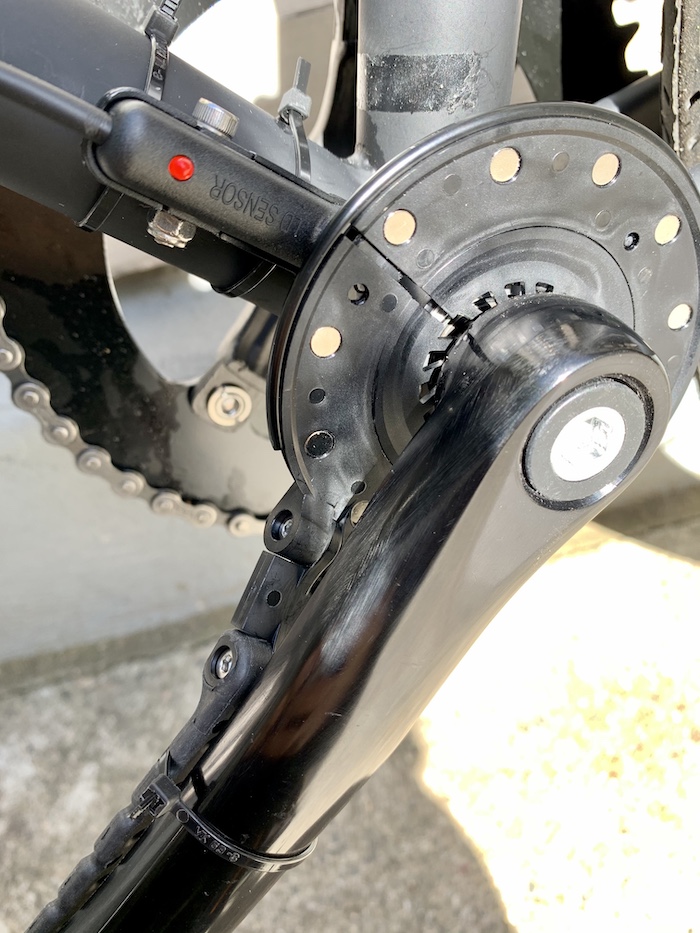
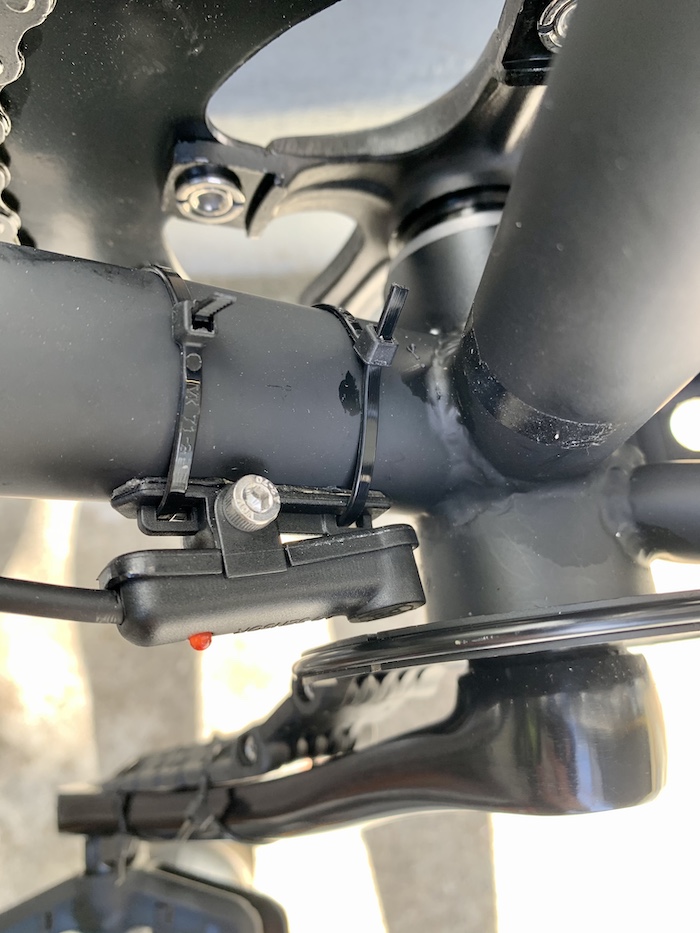
- attach the pedal assist system, which consists of two pieces: a ring with an
arm that attaches to the crank, and a small sensor which goes on the
bottom tube. you need to adjust the angle and placement of these pieces until
they’re almost touching at their closest point (magnetic fields ftw) but not rubbing against each
other.
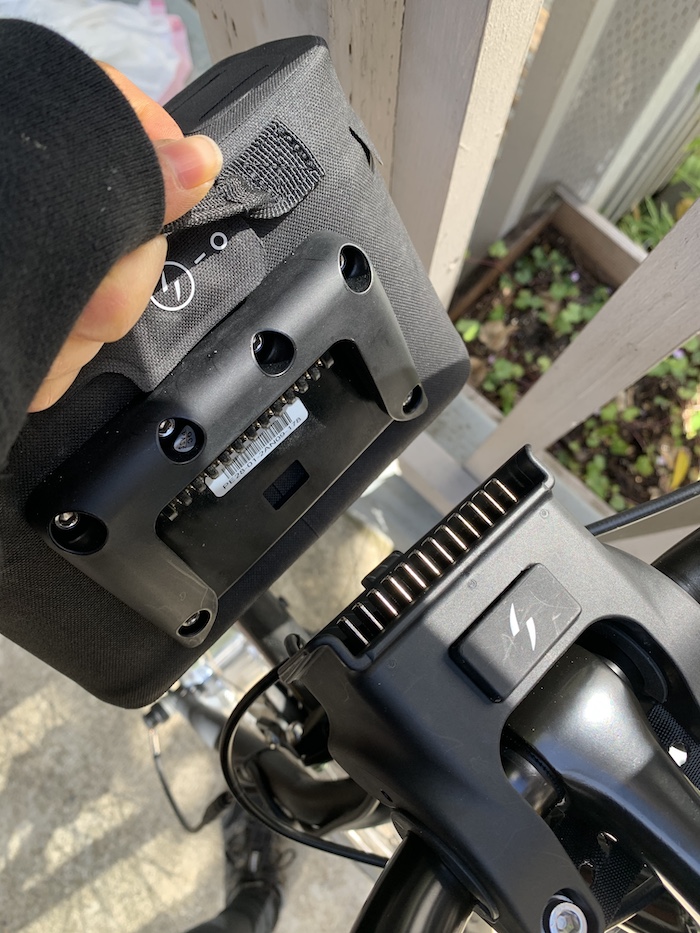
- attach the battery holder to your handlebars
- pop the battery into the battery holder, but make sure you activate it
following the instructions in the manual and charge it first.
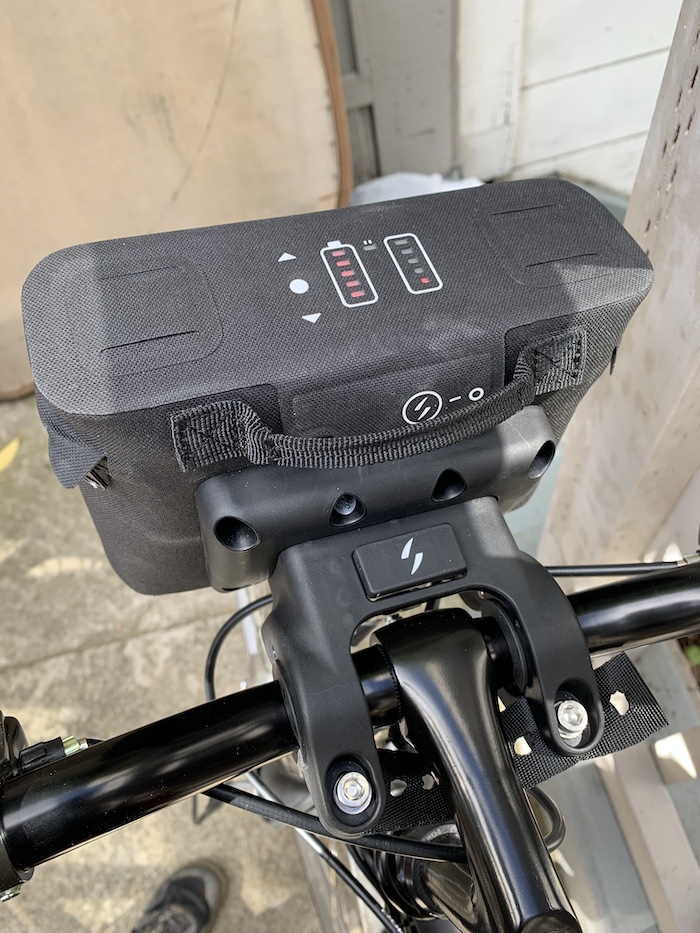
- connect the wire from the pedal sensor to your battery. note that the battery will have some unused connectors if you bought the kit without upgrades, as shown below.
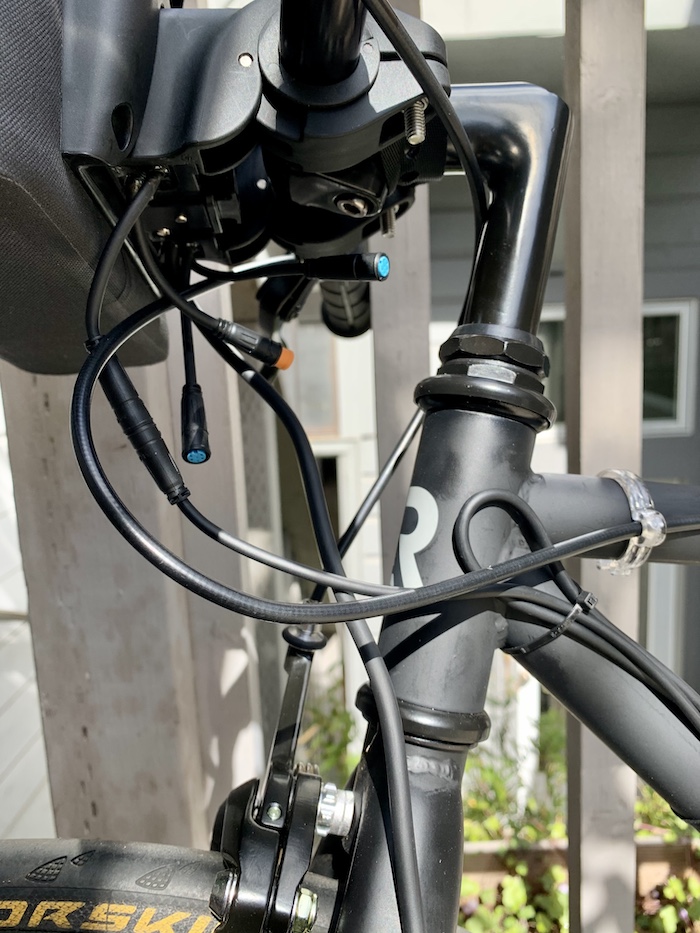
- connect the wire from the wheel motor to your battery. use your remaining zipties for cable management.

that’s it! the set up was surprisingly easy for a bike n00b like me, but even more surprising was how smooth and utterly fun the ride was. i was able to coast up an 11% grade street near my house without any difficulty, and biking through Golden Gate Park felt like surfing on butter. although it wasn’t cheap, the end product feels much more expensive than $750.
the one major downside is that i wouldn’t recommend locking this bike up for more than a minute in the city, given how easy it is to steal the pedal sensor. but all in all, it’s worth it for the ability to conquer the hills of SF without breaking a sweat.